
3 Simple Steps to Correct Under Eye Darkness
I like to think of applying concealer as if I’m driving a race car, waiting for the light to turn green. The anticipation builds until I can slam my foot on the gas, tires spinning, smoke rising, and take the lead without hesitation.
"Ready. Set. Go."
Just kidding—that’s only in the movies. I don’t drive like that all the time!
But what does this have to do with concealer?
Sometimes it’s easier to remember something unfamiliar by associating it with something familiar. By breaking down the concealer process into three main steps—prep, correct, and conceal—we can link it to "ready, set, go." This simple connection makes it easy to remember the key steps for flawless application.
Prep: "ready"
Step 1: Apply the Correct Moisturizer
Before applying concealer under the eyes, it's essential to prep the area with moisturizer. Choosing the right product can be tricky, as under-eye creams often contain potent and emollient ingredients. Avoid using too much—unless you're aiming for a makeup slip-and-slide effect! Instead, apply a pea-sized amount using your ring finger, gently tapping it directly under the eye.
Our skin is an excellent indicator of your overall health. Pay attention to the area under your eyes and choose a cream that meets your specific needs—not someone else’s.
One of the simplest and most cost-effective tips I share with brides is this: if your under-eye area feels dry, start by hydrating from within. Drinking water daily can do wonders for your skin’s appearance. You’d be amazed at the difference hydration makes!
Addressing Pesky Dark Circles
Dark circles can be hereditary, but they can also signal a lack of certain nutrients. Incorporating iron-rich foods like spinach or beans into your diet may help improve their appearance over time.
Keeping Concealer in Place
If your concealer tends to move or separate throughout the day, consider switching to a water-based under-eye cream or a lightweight, non-drying primer. For those who need extra staying power, my go-to is the Makeup Forever Hydrating Primer. Apply a small amount over an already prepped and hydrated eye for long-lasting results.
Correct: “set”
Step 2: Correcting Darkness Under the Eye
With the eye prepped, it’s time to tackle those dark circles. This step is essential in the concealing process—unless, of course, you’re one of the lucky few blessed with naturally bright under-eyes. But for the rest of us, who still look tired after a full nine hours of sleep, this one's for you.
I like to say, let’s set your dark circles up for failure.
To effectively correct darkness under the eyes, we turn to the color wheel. Without diving too deep into the science, it works like this: opposite colors on the wheel cancel each other out, helping to balance discoloration.
Blue or purple tones under the eyes? Use a pink or peach-toned corrector to neutralize the darkness.
Green tones? Reach for an orange-toned corrector for balance.
The key here is precise application. Your corrector doesn’t need to cover the entire under-eye area. Focus on the inner corner and along the lash line—these are the spots where darkness typically stands out.
Conceal: “go”
Step 3: Conceal the Darkness
The darkness is corrected, and now there’s just one thing left to do—conceal. With so many products on the market, it can feel overwhelming to find the right one. Most concealers are designed to work like "erase paste," but for the everyday woman, that heavy, flawless look isn’t always the most flattering option—unless you’re a makeup artist or a YouTube guru.
Naturally, we all have fine lines under our eyes, and with the number of times we blink each day, it’s inevitable that some product will move—short of using actual glue (which, of course, isn’t an option!).
Here’s my theory: a well-prepped under-eye area will act like glue for even the driest concealers. Moisture is key!
When working with clients, I always aim for balance:
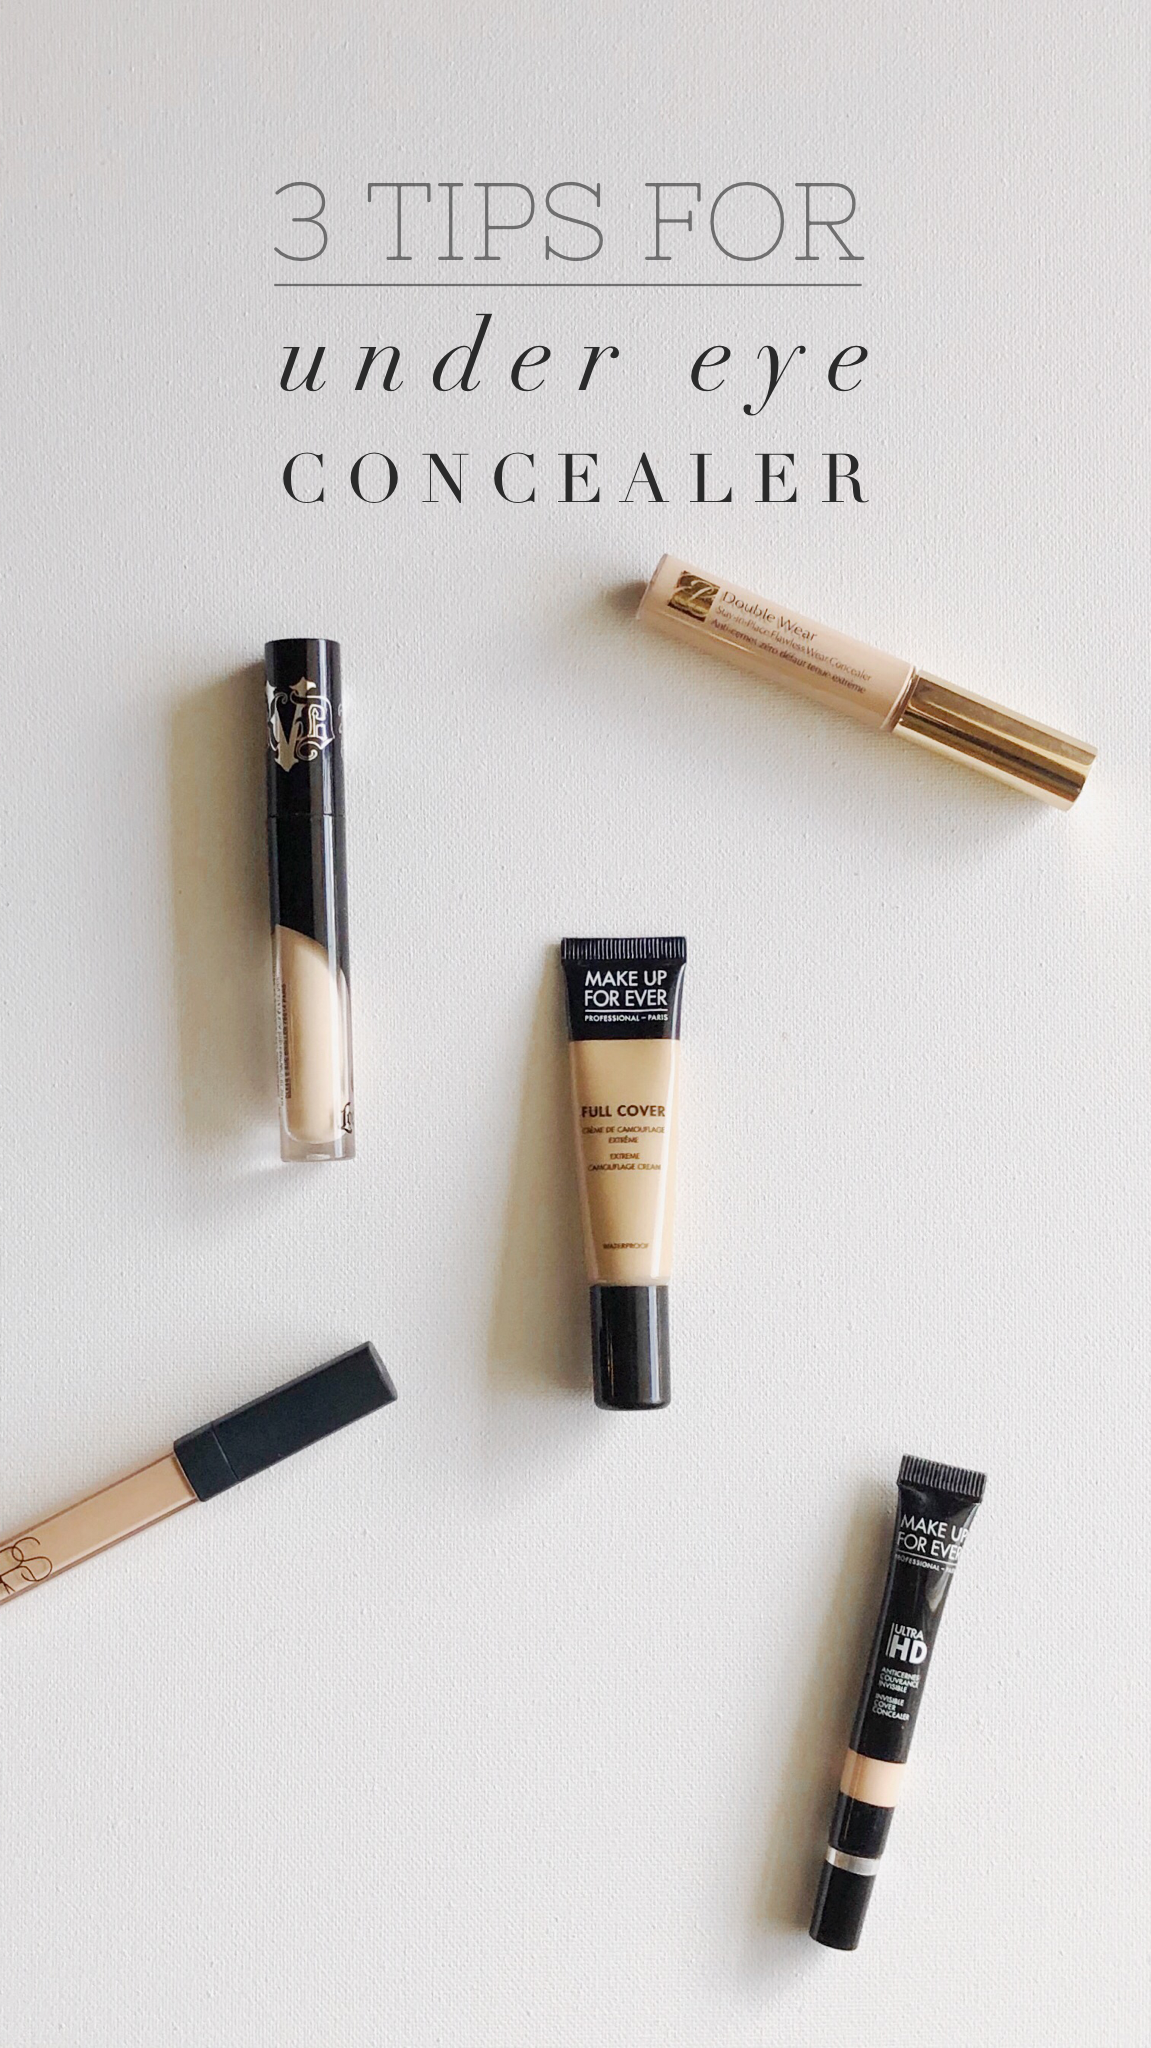
For full coverage, I use products like NARS Radiant Creamy Concealer or Makeup Forever Full Cover, but only if the under-eye area is adequately hydrated and suited to the client’s skin type.
For mature or dry skin, I reach for more hydrating formulas such as Bobbi Brown Creamy Concealer or Makeup Forever HD Concealer to avoid emphasizing fine lines.
Choosing the Right Shade
As a rule of thumb, select a concealer that is one shade lighter than your skin tone to brighten and illuminate the under-eye area. Be cautious not to go too light—if your concealer is lighter than your brow bone, it’s too light and will look unnatural.
Finishing Touch: Brightening Powder
We wrap up the concealing process with a final step: applying a brightening powder. While it may feel like there are a million steps to achieving that under-eye brightness, once you get the hang of it, the process will become second nature—just like, “Ready. Set. Go.”
For a full, step-by-step guide, check out the videos in this thread. I hope this helps you perfect your routine!
Until next time, XOXO